
MMS Approval
To send MMS messages in ThruText, your account must be approved for MMS by carriers. This approval is granted when you submit a sample media file for your use case. Carriers use this file to confirm that your media matches the type of messages you’ve registered. Once approved, you’ll be ready to send MMS messages that can help your campaigns stand out.
This guide will walk you through adding a sample media file to your use case and confirming approval.
TABLE OF CONTENTS
Before Submitting Sample Media
The following are steps to complete before submitting sample media:
- Complete Brand Registration: This process verifies your organization with our vetting partner and can take anywhere from a few minutes to several hours. Read this guide for more information: Brand Registration
- Upload Media to the Media Library: Next, you'll have to upload a media file to the media library. This process only takes a few minutes. You can read more about this in the following guide: Media Library - Managing Files for MMS
The following step can be completed before or during a sample media submission:
- Use Case Registration: You can submit your MMS sample media when initially submitting your Use Case Registration or after your use case has completed manual vetting and is SMS approved. Your use case describes what kind of messages you'll be sending. During registration, carriers conduct a manual review, which typically takes 3–12 business days. Make sure to factor this this into your text planning timeline.
How to Submit Sample Media
In the sidebar navigation menu, access Account Tools, and then click on Compliance.
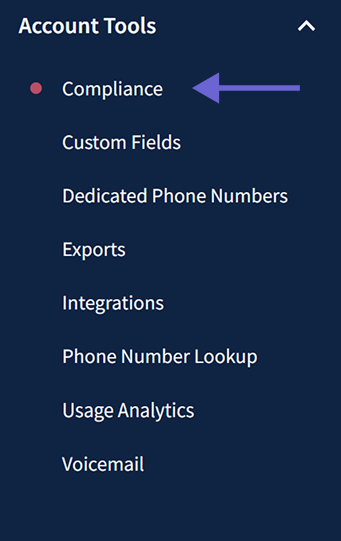
- If you have not started use case registration yet, you'll need to select Start Use Case Registration. Then during the submission, at the Sample Media step, you'll submit a Media Library file. Read our Use Case Registration guide for full details on that process.
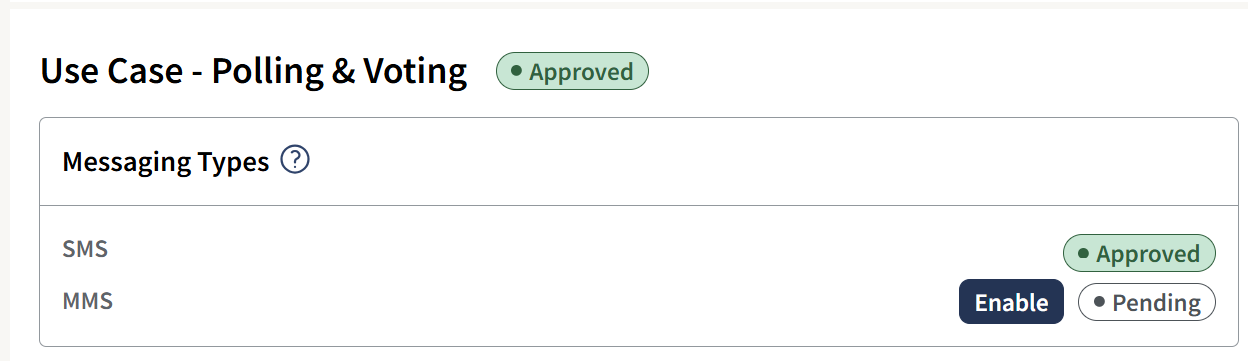
- If you have completed Use Case Registration, you'll see an option to enable your SMS approved use case for MMS. Click on the Enable button next to the MMS messaging type label to begin.
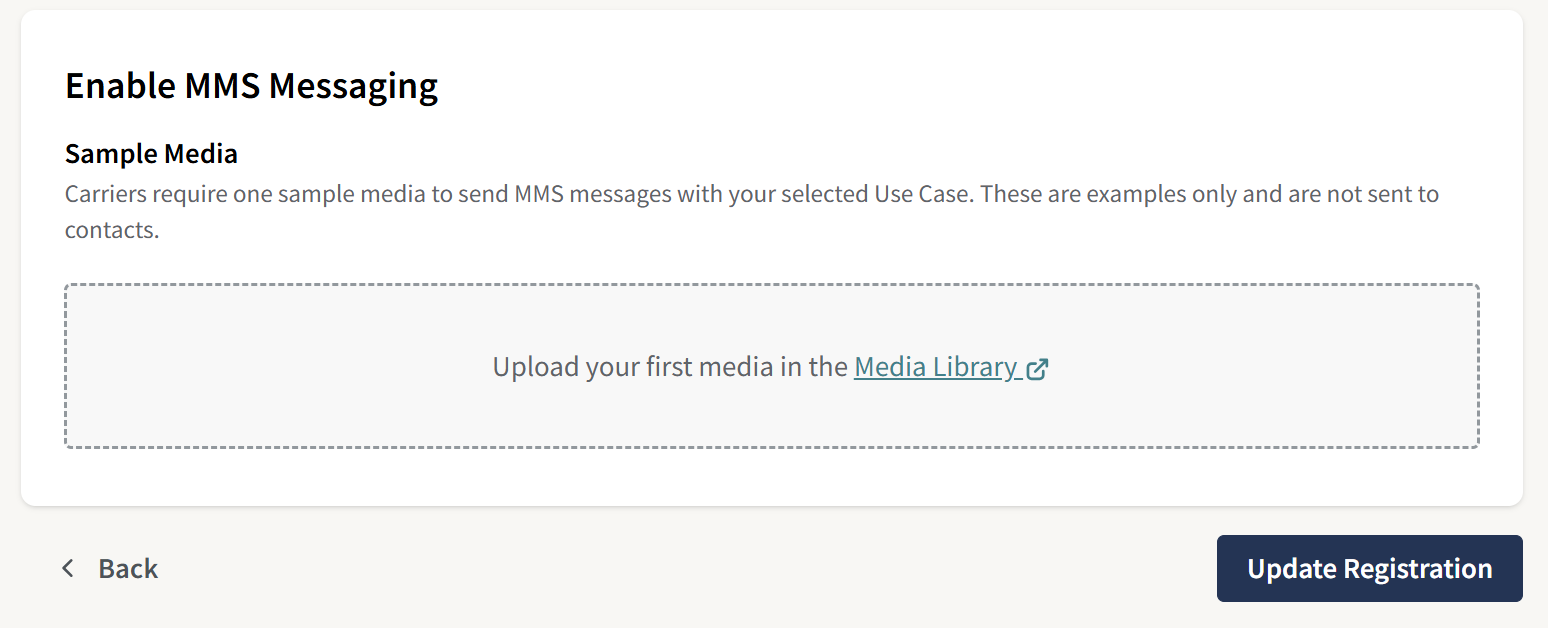
- If you have not added media to your library, then select the option to upload your first media to be taken to a new tab of the Media Library where you can upload media.
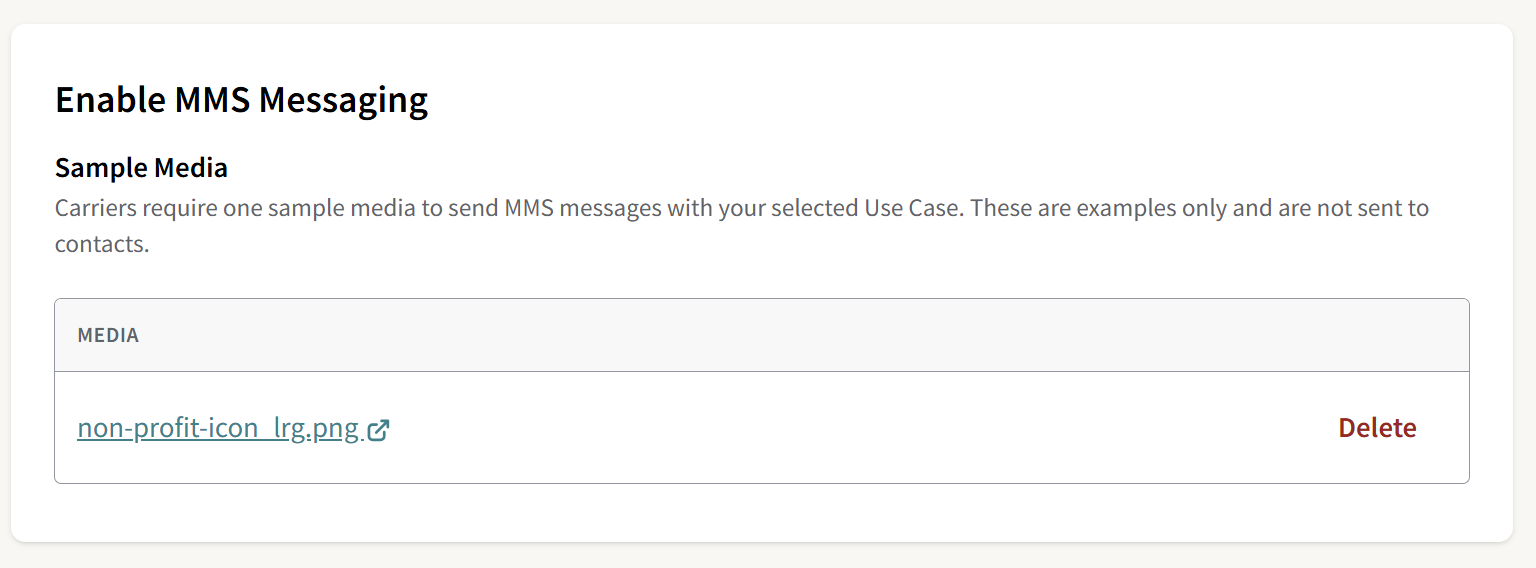
- If you already added media to your library, then select the +Add Media button to select a file from your library to use for your sample media submission.
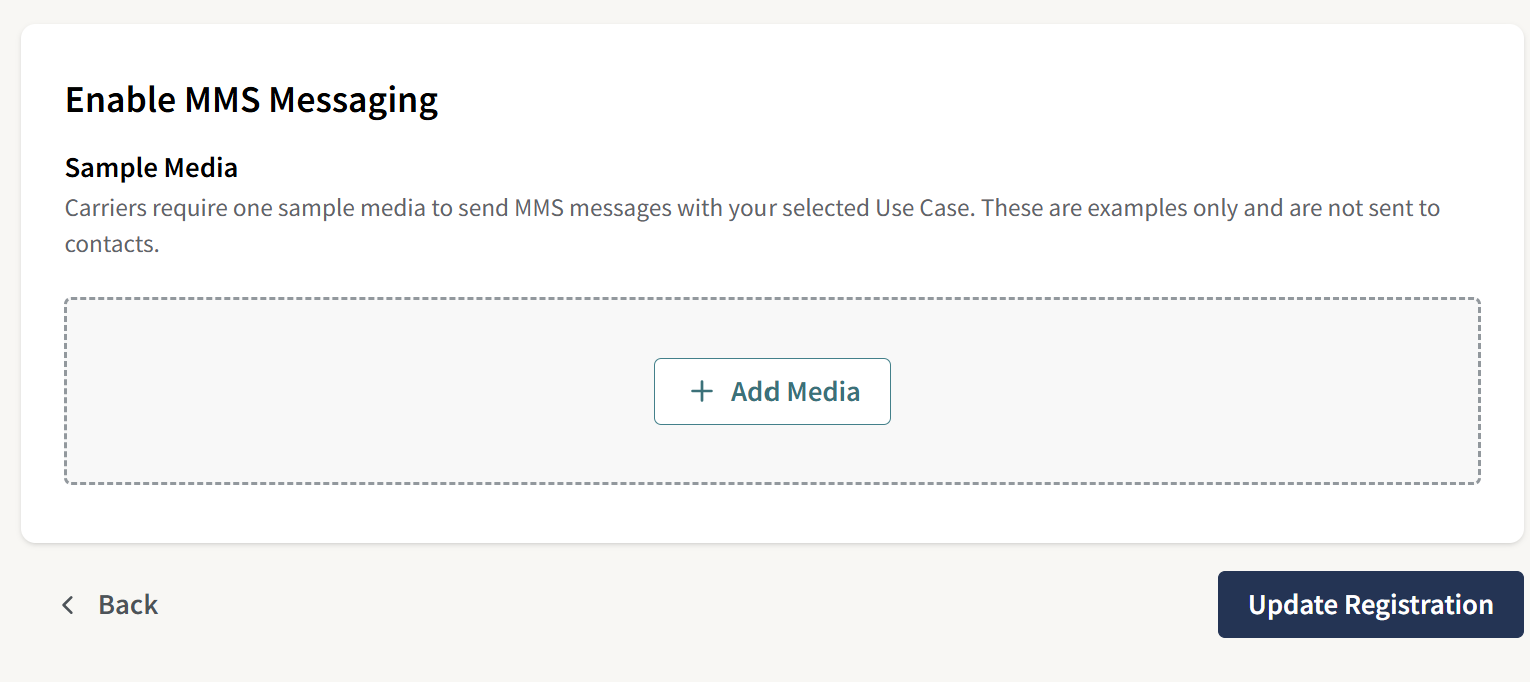
- Once you've added your media, you'll have the option to delete if you want to change media files, or you can select Update Registration when you're ready to submit.
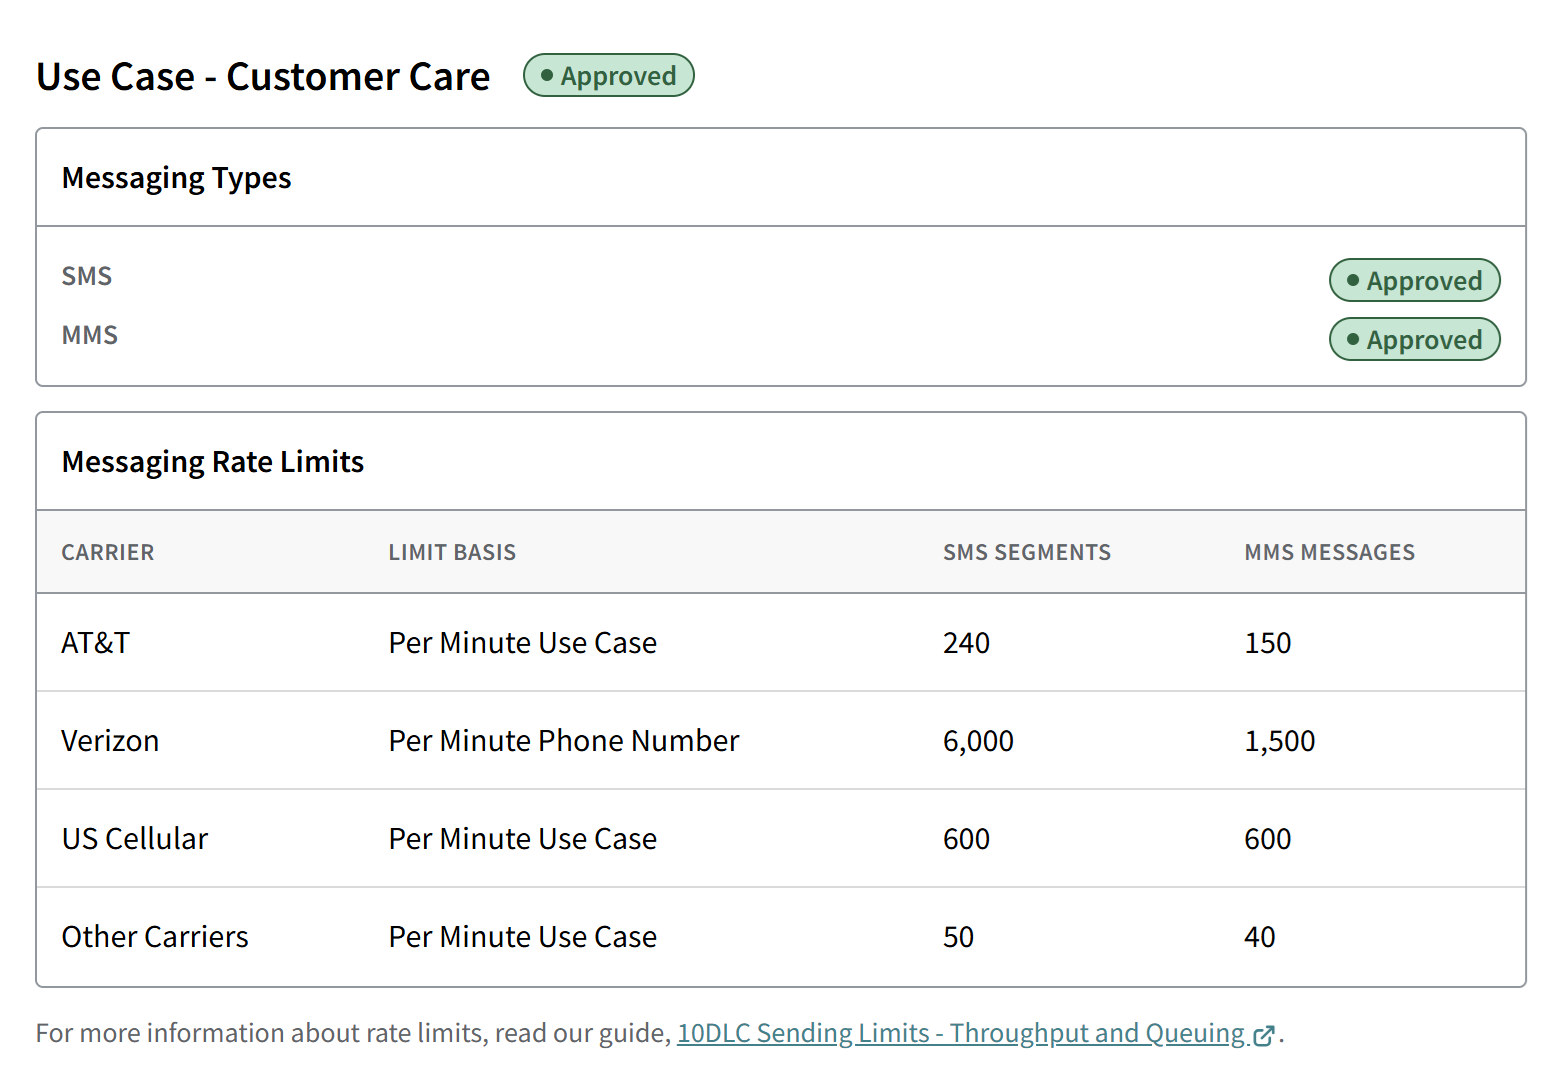
- Once complete, in addition to the messaging type SMS Approved, you’ll see an MMS Approved label as well. You’re now ready to launch MMS campaigns!
- If you have not added media to your library, then select the option to upload your first media to be taken to a new tab of the Media Library where you can upload media.
Troubleshooting
- No Media Files: If you click Browse Media Library and see a blank page, you must add media files to the Media Library before attempting to attach them to a use case.
- No MMS Approved Use Cases: If you don't see the option to Add Media during campaign creation, you may not have an MMS approved use case associated with the campaign. Check the Compliance Page for an MMS Enabled messaging type for your use case.
- For dedicated numbers, you select the use case when you obtain the number. Read more here: Dedicated Phone Numbers for US Accounts.
- For single use numbers, you select the use case during campaign creation. Read more here: Launching a ThruText Campaign.
- Make sure to have filled in step 2 of campaign creation as the MMS enabled use case must be associated with the campaign for media to be available at step 3.